



As with anything, you will find fads among health foods. Unfortunately, foodie fads tend to be really expensive — unless you make them yourself, which can be a lot easier than you think.
Not only will you save money when you make or grow healthy foods yourself, but you’ll also know what’s in it — and what’s not in it.
Making or growing some of your own ingredients also helps reduce sodium and sugar, as well as avoid pesticides and preservatives. All that plus big financial savings. What’s not to love?
Here are several trendy treats you can make on your own — gloriously cheap.
1. Kombucha
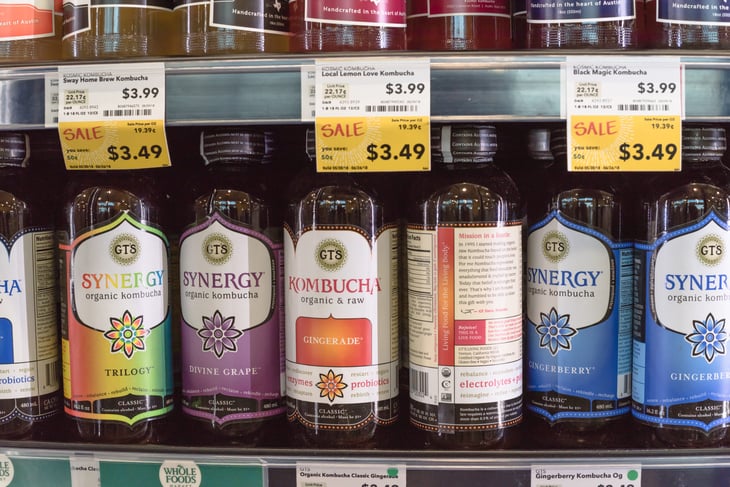
Kombucha is a fermented beverage made with a symbiotic culture of bacteria and yeast, known as a scoby. Some believe kombucha offers health benefits such as improved digestion and a strengthened immune system.
The science is still out on that, but “booch” is a big seller: Global sales are projected to reach nearly $6.14 billion by 2028.
That doesn’t include home-brewed kombucha. So how can you make your own? An article on the Kitchn website, “How to Make Kombucha Tea at Home,” gives the nuts and bolts of the fairly simple process.
Note: Kombucha brewing requires patience. Just making the scoby means waiting two to four weeks for it to grow. You could also buy it at a health-food store or online, but making your own can save you a bundle. Either way, a scoby is self-renewing and can be used over and over.
Bonus: You can flavor the drink any way you like.
2. Pea protein powder
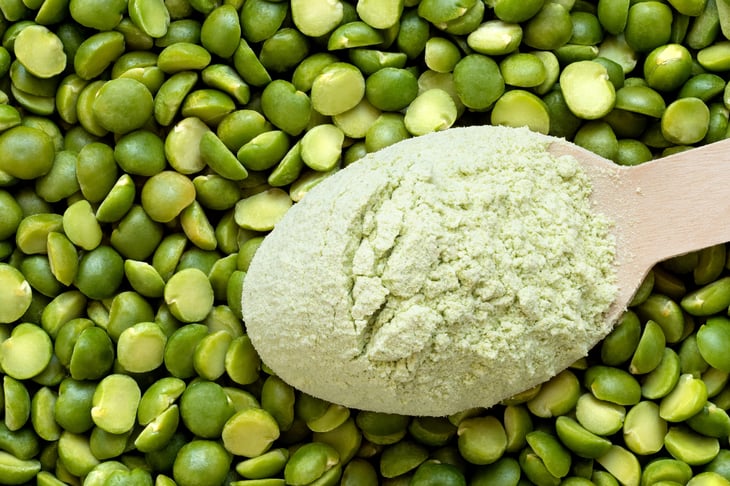
Beloved by vegans and bodybuilders, this powder is a healthful source of plant-based protein that’s also gluten free.
And you can make pea protein powder at home — with just one ingredient and 15 minutes, according to the blog Health My Lifestyle. Here’s how:
- Process some dried split peas in a blender, spice grinder or food processor.
- Put the result through a sieve and re-grind what remains.
- That’s it. You’re done.
3. Oat milk
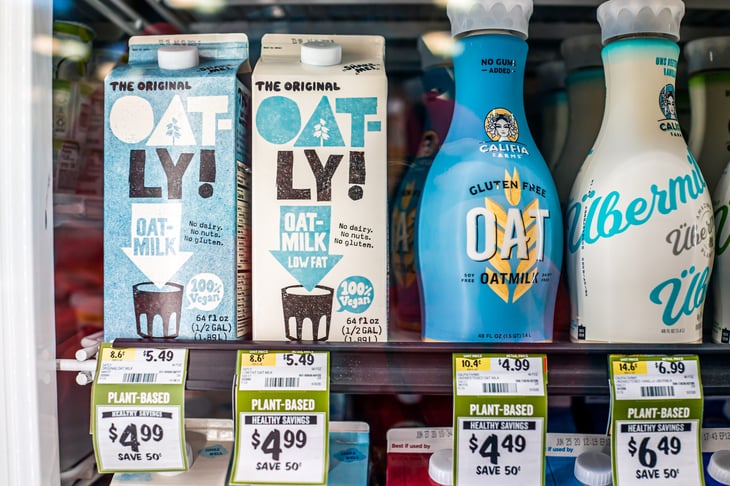
The market for this plant-based beverage has soared lately and is projected to reach $995 million globally by 2027.
Since it’s not much work to make this beverage at home, you don’t have to go broke to go dairy-free. The article “How to Make Oat Milk” at the blog Real Food Real Deals offers instructions plus two insider tips for best results.
The basics: Whirl some rolled oats with water and ice cubes in a blender, then let the results drip through a cloth bag or cloth-lined sieve or colander. (You can stir in a bit of maple syrup, honey or vanilla extract, if you like.) The result: a creamy addition to coffee, smoothies, cereal or flavored drinks.

4. Overnight oats
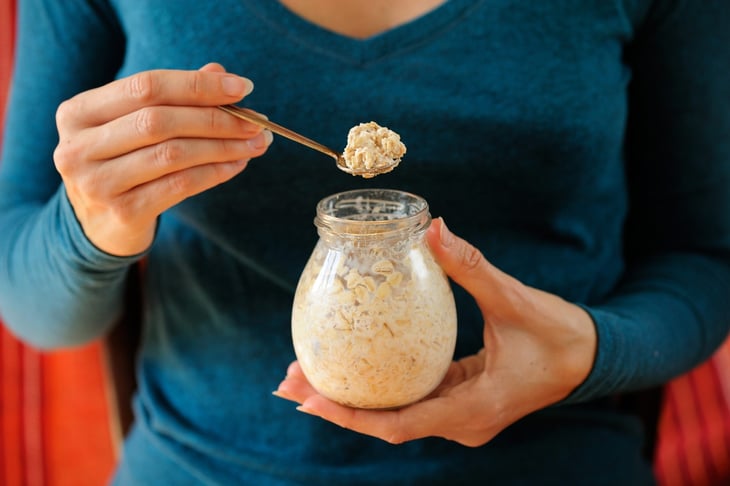
Also known as “soaked oats,” this is essentially uncooked oatmeal drenched in milk (dairy or non) and then flavored with sweetener, fruit, nuts, seeds or a combination thereof and left to steep in the fridge overnight.
Quaker now sells a 19-ounce canister of Overnight Oats. Various manufacturers also sell teeny-tiny cups of flavored overnight oats that are much costlier.
Those Quaker overnight oats canisters just contain … oats. They’re thicker-cut, but they’re still just … oats.
You can instead use supermarket generic rolled oats. Stir in twice as much liquid as oats and leave them in the fridge overnight. The next morning, add your choice of mix-ins.
5. Microgreens
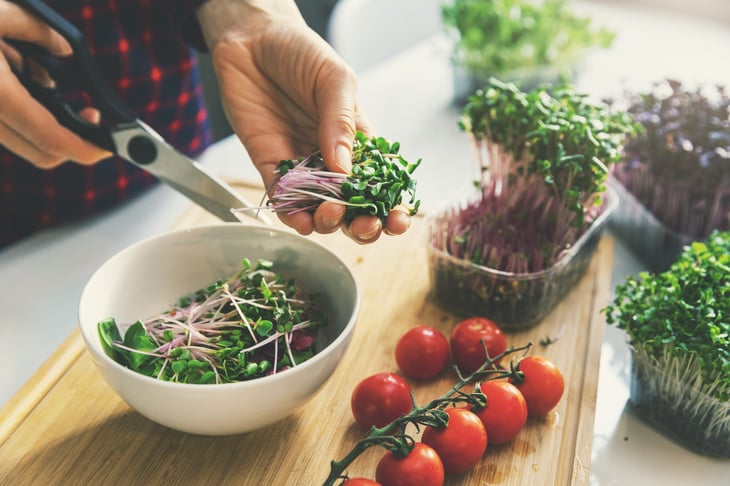
Microgreens are bigger than sprouts but haven’t reached the baby-salad-greens stage. They’re a nutrient-rich addition to salads, sandwiches and stir-fries.
They can also be a costly addition. But you can try a little DIY microgreenery, indoors or out.
It’s pretty simple: Scatter a lot of seeds on trays or other containers of soil and keep them moist. Within a couple of weeks, a tight little mini-forest of plants will be ready to harvest. (Penn State Extension offers a step-by-step growing guide.)
Pro tip: Look for seed packs at the dollar store. If microgreens become a megahit with your household, you can source seed in bulk later on.
6. Greek yogurt
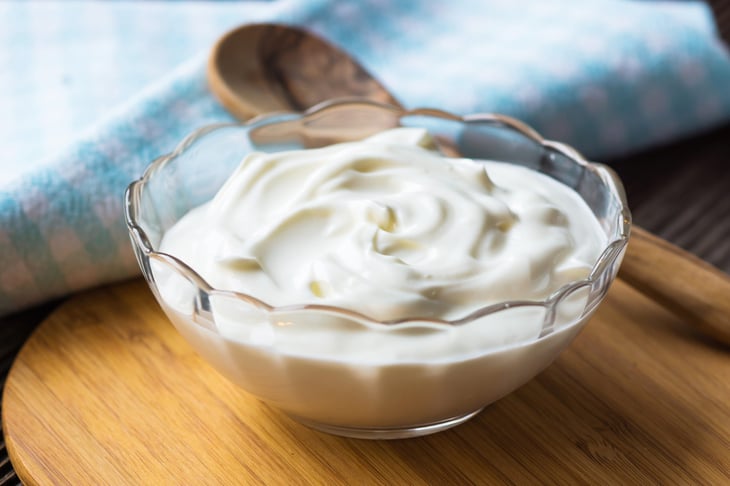
I’ve been making my own yogurt for years, and there’s not much to it: Heat some milk, cool it down a bit, add a starter and keep it warm for eight to 12 hours. (I explain the finer points in “Frugal Hack: Homemade Yogurt.”)
Because I prefer the milder taste and thicker texture of Greek yogurt, I let it drip through a cloth-lined colander. We save the drained-off whey for cooking projects, including rustic bread.
Here’s a cheat for those who don’t want to start from scratch: Put some store-bought yogurt through that cloth-lined colander. You’re welcome.
7. Rustic bread
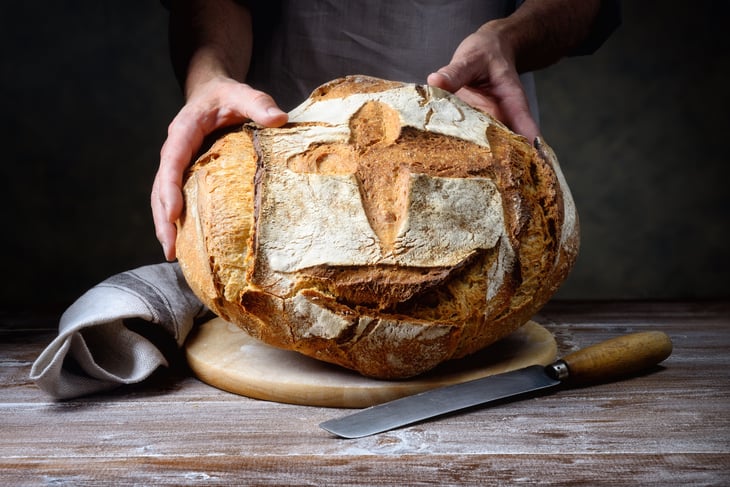
A good loaf of bread turns leftovers or even a simple can of soup into a feast. Trouble is, rustic bread can be costly to buy. Fortunately, it’s easy to make your own — and there’s no need to knead.
My partner and I use a bonehead-simple recipe from the blog One Good Thing By Jillee:
- Stir some water (we use half water, half yogurt whey), salt and just a half-teaspoon of yeast into about a pound of flour.
- Cover it and let it sit overnight.
- Shape it, mist with water if you like and bake at 450 degrees in a Dutch oven, clay dish or ceramic pot.
The 450-degree oven can affect your utility costs, but we haven’t noticed a major jump. You’ll also need parchment paper, which you can get at the dollar store. We’ve reused the same piece of paper up to four times.
This bread makes superb toast the next day. That is, if there’s any left — it really is that good.

Add a Comment