


Editor's Note: This story originally appeared on Point2.
One of the best things about owning your home is the ability to put your stamp on it.
And, by doing the work yourself, you’re in complete control over everything from the type of materials used to the final finish.
Of course, it’s always best to get the pros in for those jobs you’re uncomfortable with, but DIYing can be immensely rewarding for everything else.
But where to start when it comes to DIY improvements? If you’re stuck for ideas, we’ve compiled a list of exciting home projects you might want to tackle.
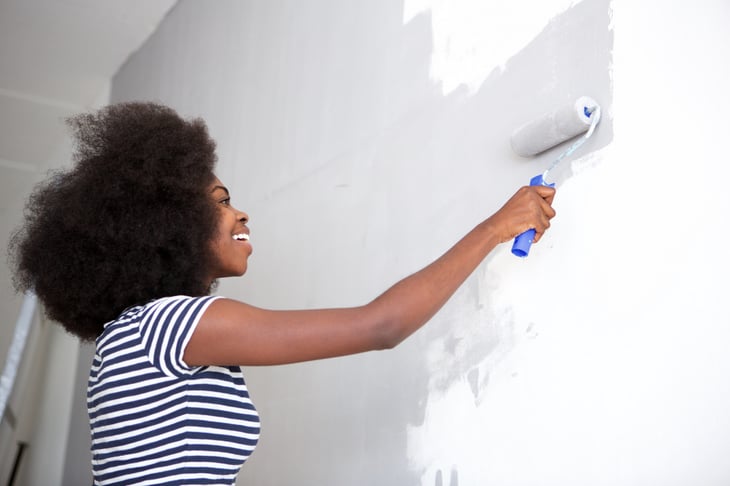
1. Freshen Up With a Lick of Paint
Repainting is one of the first things many new homeowners do. The good news is that it’s a fairly beginner-friendly task that can totally transform your space. That said, getting a professionally-looking finish will take time and, most importantly, proper preparation.
Indeed, the bulk of any redecorating job is in the prep and clean-up. Start by cleaning and sanding the walls and ceilings, and remove other finishes like wallpaper if necessary.
Next, dig out any cracks and holes and fill them with a high-quality filler. Look for “nail pops,” which occur on drywall boards that have moved and loosened the screw or nail.
Dig these out, and if necessary, tighten the screw to prevent future movement. It’s also worth painting woodwork elements, such as baseboards, frames, and doors, so be sure to sand and fill these as well.
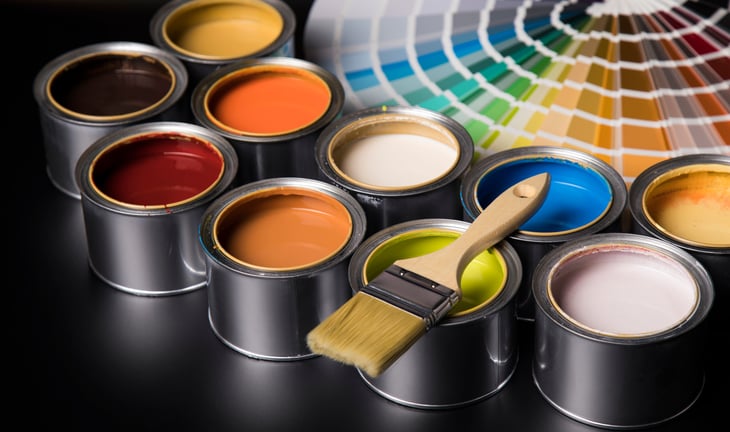
Use the Right Painting Supplies

When it comes to paint, the secret to a fantastic finish is the quality of the paint and the tools used to apply it.
Avoid the cheapest brushes and rollers and instead opt for professional-grade ones.
For paint, trade paints (those used by the pros) are slightly more expensive than those you’ll find in DIY stores but tend to be far more durable and give a better finish.
Finally, don’t forget to get a few dust sheets to reduce the mess and a roll or two of masking tape for clean lines and protecting things like light switches and power points.
A tube of caulk is also handy for smoothing out corners and edges.
2. Put Up New Shelves

New shelves can totally change the function of a room while providing plenty of extra storage space.
You can put them up anywhere, from the bedroom to the garage, enabling you to store things off the ground. As long as you have the right tools, they’re pretty easy to install as well.
Most importantly, you’ll need to know what your wall is made of before you attempt to hang shelves. For example, a masonry wall will require a hammer drill to drill into the hard surface.
Meanwhile, drywall is easier to drill into, but you’ll need to locate the studs for fixing the brackets or use special drywall anchors.
It’s well worth buying a good stud finder tool. Spend a little more for one that will also detect pipes and electrical cables to ensure you avoid drilling into anything you might regret.
Finally, a level is essential for making sure your shelves are straight.

3. Door Maintenance
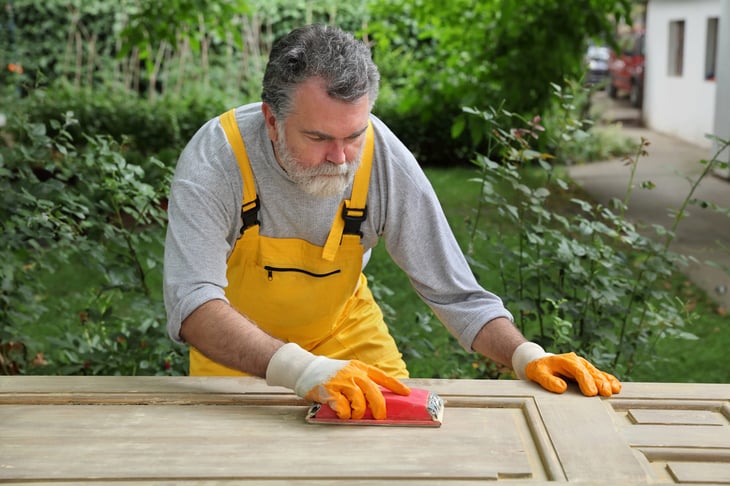
In most homes, doors get a lot of use, so it’s no surprise that, over time, they can develop many issues. From sticking and being challenging to open to not closing at all, these problems are usually easy to resolve.
High humidity can cause the wood to swell, making it difficult to open or close the door, but other issues include dropped hinges, a faulty latch mechanism, or simply too many layers of paint over the years.
A hand or electric plane can help you trim your doors to size while replacing the hinges, and other door hardware will typically resolve other issues.
Now is also a great time to give your doors a fresh coat of paint and some new handles.
For badly stuck doors, be sure to check that the frame is still square before you carry out any work. In some cases, sticking doors can point to more significant problems with the foundations of your home.
4. Install New Flooring
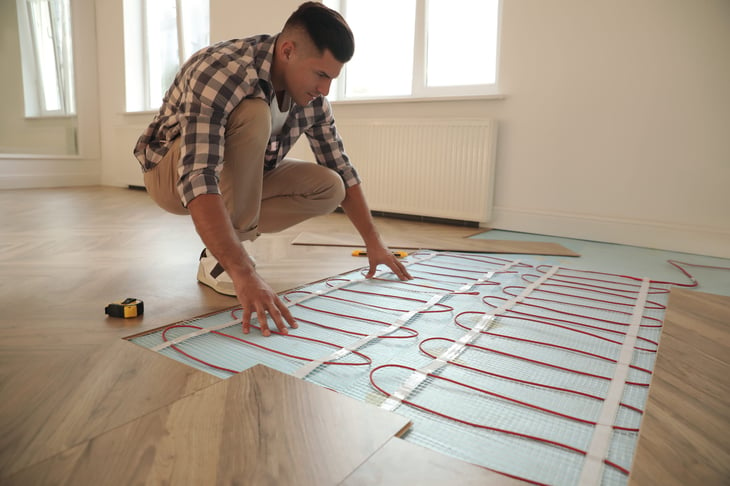
Along with a fresh coat of paint, swapping out the flooring in your new home can really transform any room.
Carpets can be great for soundproofing your floors while creating a softer surface to walk on, and they aren’t too tricky to fit if you do your research. Once again, the best advice is to take your time and measure twice before making any final cuts.
Other floor types are just as easy to fit.
Linoleum can be an excellent choice for those looking for an environmentally friendly, stylish, and easy-to-install option.
Meanwhile, hardwood floors look stunning but can be more difficult to install yourself.
Laminate floors are easier to install and can look just as good; plus, they come in a wide range of finishes.
5. Spruce Up Your Cabinets and Counters
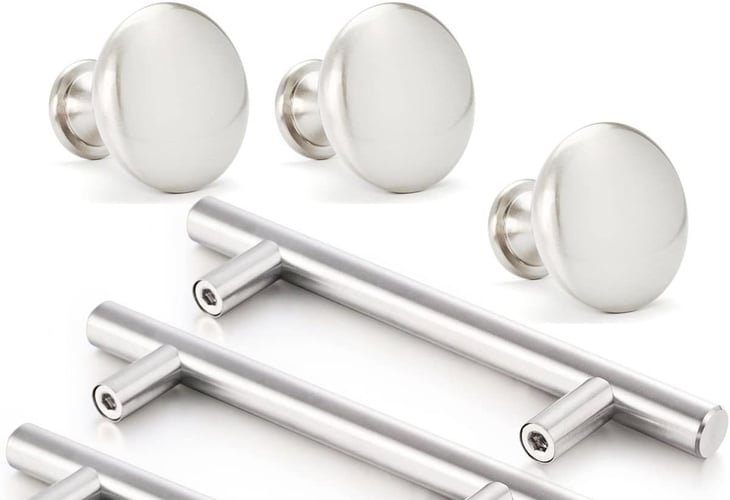
A full kitchen remodel might be a bit much for the regular DIYer, but you can still give your kitchen a new look.
Rather than fitting new cabinets, try repainting/staining them and fitting new handles and soft-close hinges.
As for the countertop, you can often swap it for something new entirely, or for a more affordable transformation, either re-cover it with adhesive film or, in the case of solid wood counters, sand it down and oil or varnish it.
6. Freshen Up the Bathroom
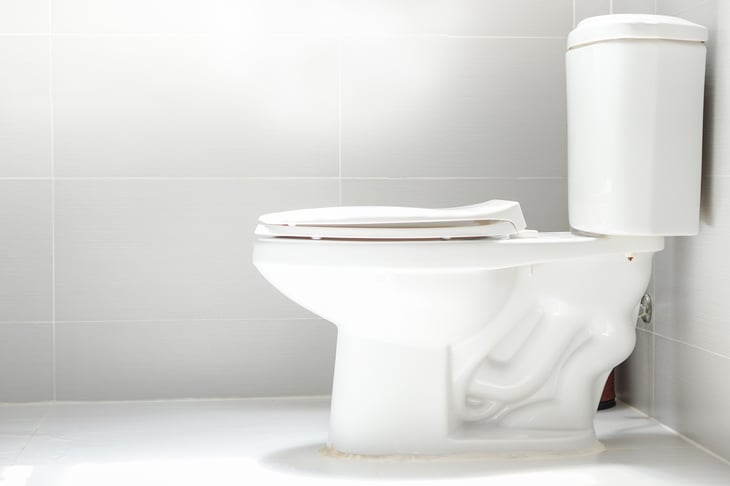
Like a kitchen remodel, completely remodeling the bathroom might be too much for your DIY skills.
But, replacing a sink or toilet isn’t overly difficult, while fitting new taps and a new shower hose and head can make a difference to the bathtub or shower.
Replacing the old caulk or silicone is another excellent way to breathe new life into the bathroom, especially if it’s gone moldy. Be sure to remove all the old material and clean the gap well.
Then, simply apply a bead of new silicone with a caulk gun. Use a mix of water and washing-up liquid to dip your finger in before smoothing the bead. You can also use a smoothing tool for a straighter finish.
7. Re-Grout or Re-Tile
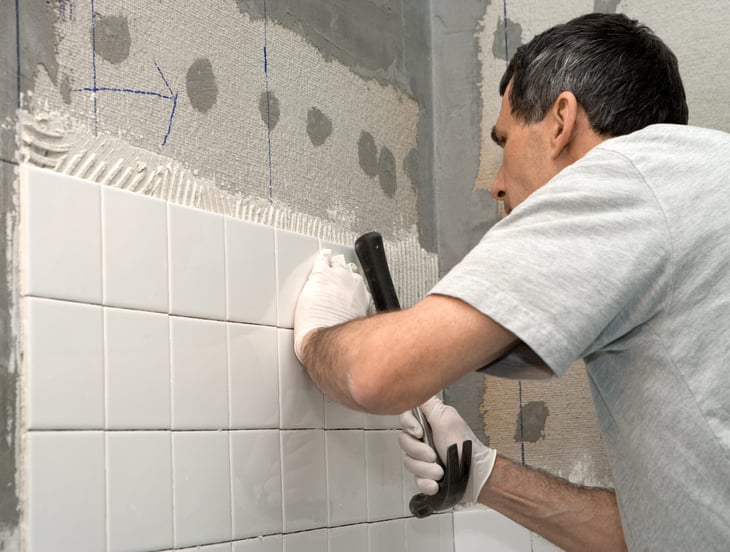
Any tiled areas you have in your home can also be given a makeover. The easiest way to freshen them up is to re-grout.
A grout removal tool makes it easy to dig out the old grout, then you simply have to apply a fresh layer. Follow the instructions and for best results, use a grout smoothing tool to create crisp lines.
If the tiles themselves are looking a little shabby, it’s not too difficult to rip them out, clean and prep the surface, and then fit new ones. You can even fit new tiles over the old ones if they’re firmly secured.
Add a Comment
Our Policy: We welcome relevant and respectful comments in order to foster healthy and informative discussions. All other comments may be removed. Comments with links are automatically held for moderation.