


Editor's Note: This story originally appeared on LawnStarter.
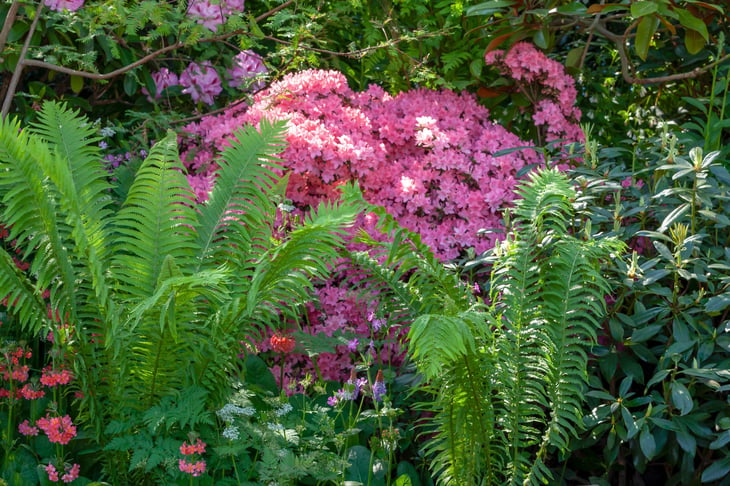
When shade dapples your landscape, don’t resent it –– embrace it. You may think a beautiful garden requires full sunlight, but there exist plenty of shade-loving plants that can turn your landscape into a showstopper. From elegant ferns to variegated hostas, we’ll show you how to create a shade garden that’s beautiful, practical, and sustainable.
While some gardeners see shade as a limitation, others see it as an opportunity for a calm, cooling garden. With the right plants and garden decor, a shade garden is the perfect resting spot for those hot summer days.
A shade garden is any garden, big or small, that thrives in the shade. Whether the garden grows under a single tree, behind a building, or beneath a forest canopy, it can make a gorgeous addition to the landscape.
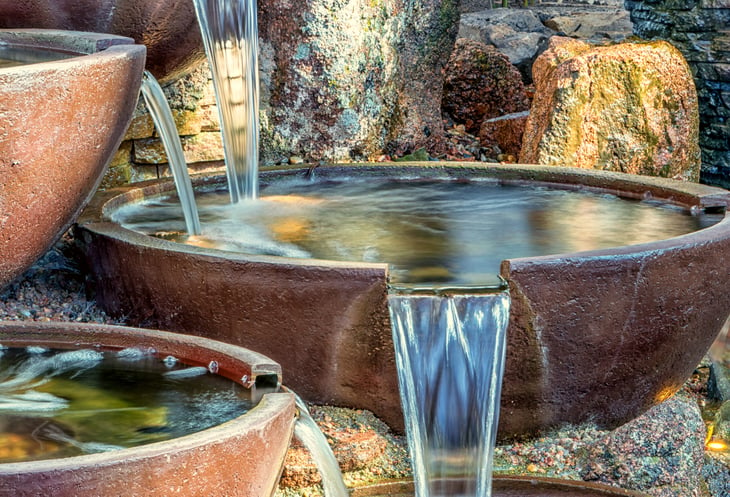
Shade gardens feature shade-loving plants, but they can also boast charming walkways, water fountains, pergolas, and other outdoor decor.
What You’ll Need for Your Shade Garden
- Shovel or garden spade
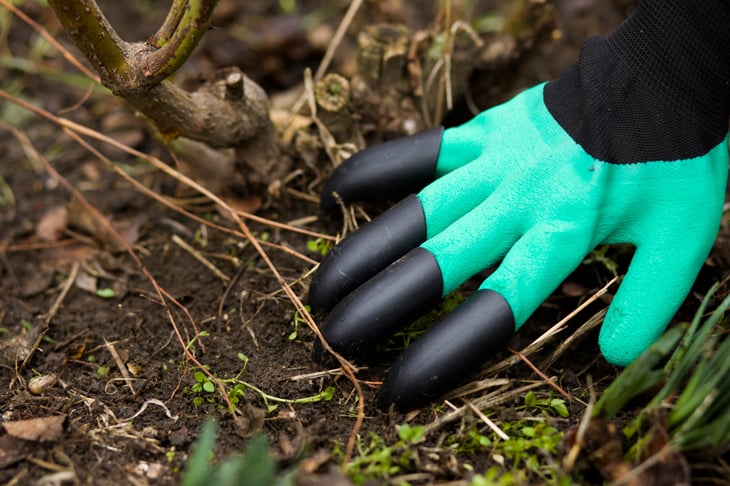
- Gardening gloves
- Watering can or garden hose to supply water
- Rope
- Tape measure
- Standard ruler or triangular square (aka set square)
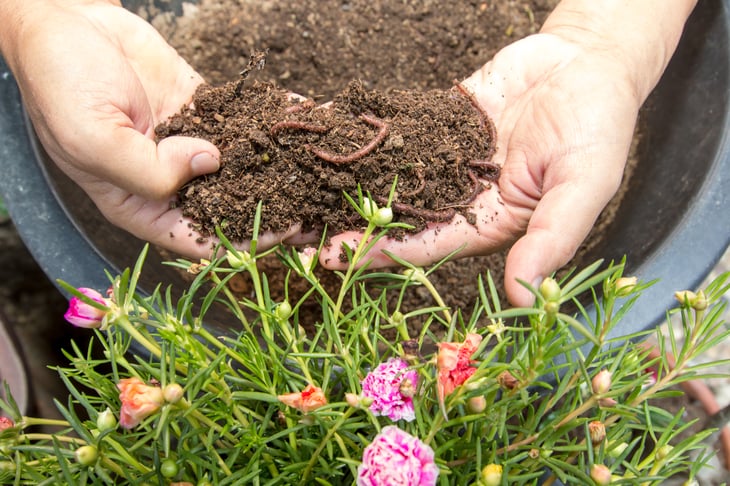
- Compost
- Pencil
- Tracing paper or regular paper
- Design plan
- Shade-loving plants
- Wheelbarrow (to transport soil, compost, and plants)
- Three-prong cultivator
- Garden rake (aka bow rake)
- Newspaper (optional)
- Sod cutter (optional)
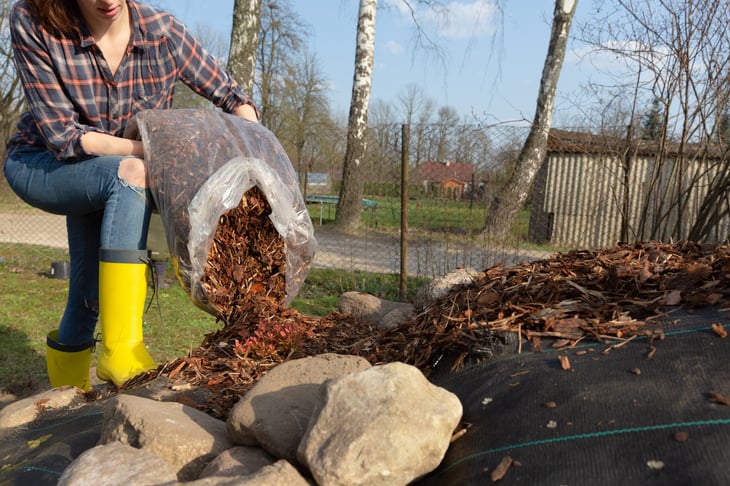
- Mulch
- Hand trowel
- Garden decor of your choice
Step 1: Find a Location
Will your plants be growing under a forest canopy or a single shade tree? Location determines many factors, including which plants you buy and how many.
Remember to measure the area to know the amount of space you’re working with.
Step 2: Measure the Space

Tape measure in hand, measure the location’s dimensions. Calculating the square footage and perimeter will allow you to create the garden’s design in Step 7.
Step 3: Determine Shade Level

Next, determine how much shade the location receives each day. Some shade-tolerant plants grow best in full shade while others prefer partial shade.
Remember, shade changes in autumn and winter when deciduous trees lose their leaves, which affects your choice of plants.

- Dense shade (or deep shade): The location receives little to no sunlight all day. Dense tree canopies usually surround the area, and there is no reflected light.
- Full shade: The shady area receives little to no sunlight all day but is slightly brighter than dense shade, thanks to reflected light from the surrounding area.
- Partial shade (or part shade): Area receives two to four hours of sunlight per day.
- Partial sun: Area receives four to six hours of sunlight per day.
- Dappled shade (or light shade): Receives a changing pattern of sunlight and shade as the light filters through the tree canopies.
- Full sun: Area receives six or more hours of direct sunlight per day.
Step 4: Test the Soil
Some plants prefer clay soils, while others prefer sandy soils. If the soil is too alkaline or acidic, some plants may struggle.
By performing a soil test in the chosen area, you can determine the soil type and what amendments to add. For example, if the soil is too alkaline, a soil test may recommend a sulfur application to help lower the soil pH level.
Pro Tip: Send a soil sample to your local Cooperative Extension or university for professional laboratory testing. DIY at-home soil test kits are available, but they don’t provide as detailed results as laboratory soil tests.
Step 5: Test for Soil Drainage
How well does water drain in the garden’s chosen location? Most plants require good drainage, but some prefer poor drainage. How well the site drains water will help you determine which plants are best suited for your shade garden.
The Iowa State University Extension and Outreach recommends performing the following steps:
- When the soil is dry, dig a hole at least 12 inches deep and 4 to 12 inches wide. Performing the test on wet soil may affect the results.
- Fill the hole with water and allow the water to drain (this may take a while).
- Immediately after the water drains, refill the hole with water and measure the depth of the water in inches.
- After 15 minutes, measure the drop in water in inches.
- Multiply the inches of drained water (the number from above) by 4. The result is how much water drains in an hour.
Evaluate the results (For example, if the soil drains one-half inch of water in 15 minutes, that means it drains 2 inches of water per hour and has good drainage):
- Poor drainage: Soil drains less than 1 inch of water per hour.
- Good drainage: Soil drains 1 to 3 inches of water per hour. Most plants prefer good drainage.
- Very well-drained: Soil is considered very well-drained if it drains more than 4 inches per hour.
If your clay soil drains too slowly or your sandy soil drains too fast, adding organic matter (like compost) can help improve drainage.
Step 6: Decide on Plants

Research plants to determine whether they can tolerate the shade levels, drainage conditions, the local climate, and your hardiness zone.
A few tips:
- Grow native plants: Plants native to your area can thrive with little to no help from fertilizers and pesticides. They’re low-maintenance and typically require less water than non-native plants, making them a great sustainable option.
- Save time with perennials: Perennial plants grow year after year, whereas annual plants do not return the following season.
- Experiment with texture: Give your eyes a treat by choosing various textures for the garden, from smooth, leathery leaves to frilly ferns.
- Play with color: Not all shade plants are brightly colored flowering plants, so it’s good to be creative with color options. For instance, variegated leaves can have a marble-like pattern of greens, whites, yellows, and pinks.
- Think big and small: Create eye-catching layers in your shade garden by growing tall shrubs and short ground covers.
- Plant for each season: If you only grow plants that bloom in spring, you won’t get to enjoy the garden’s beauty for long. Enjoy your shade garden all year by growing plants for each season, such as spring and summer blooms, autumn foliage colors, and winter evergreens.
- Choose a design style: How will these new plants match the surrounding landscape? You can take your shade garden’s style in almost any direction, including tropical, Mediterranean, or cottage styles.
Step 7: Sketch Your Design
Grab the pencil, tracing paper, ruler, and set square to begin drawing your shade garden’s design. Remember the measurements you took in step two? Those will help you scale your design.
Keep in mind when designing your shade garden:
Think about the goals of your design. Do you want space for a seating area? Do you want the shade garden to be a relaxing oasis with water features?
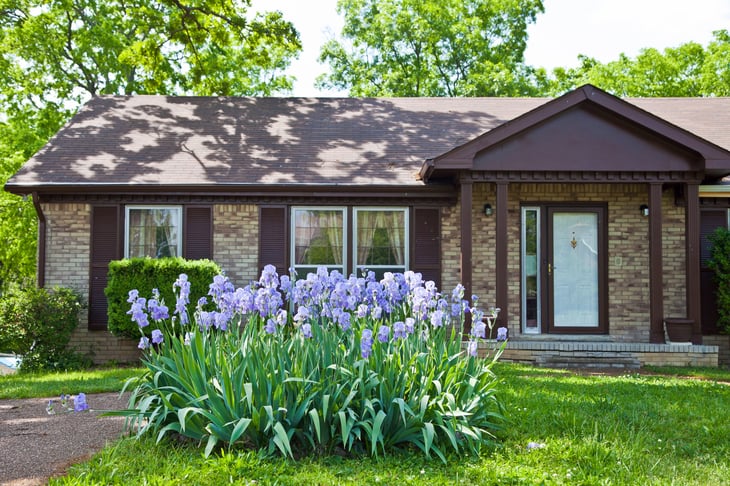
Consider your house’s architecture. What materials, shapes, and textures would harmonize your home and garden?
Get creative with shape. You know the location’s size –– now consider how you want the shade garden to fit inside that space. Will the garden bed have curves or straight lines? Draw the garden bed’s shape and measurements on your tracing paper.
Go from big to small, starting with the largest objects, such as trees, pergolas, walkways, or fountains. Remember to keep everything to scale when putting ideas to paper.
Include the plant layers. Draw the smaller plants near the front and the taller plants in the back. Keep in mind how tall the plants will grow when they mature.
Bring your favorite plants to the forefront — you don’t want them hiding out of sight.
Group same-colored plants together to create pops of color (pollinators will also have an easier time finding the plants).
If art or architecture leaves you scratching your head, hire a landscape designer to bring your vision to life.
Add a Comment
Our Policy: We welcome relevant and respectful comments in order to foster healthy and informative discussions. All other comments may be removed. Comments with links are automatically held for moderation.